Learn how to create custom Groups in Qlutch for organizing users and assigning roles efficiently. This guide walks you through accessing the Groups window, naming and describing a group, selecting members, and finalizing creation—with the flexibility to modify group membership anytime.
Guide date: 2025-09-03
Create custom Groups you can assign to roles throughout Qlutch.
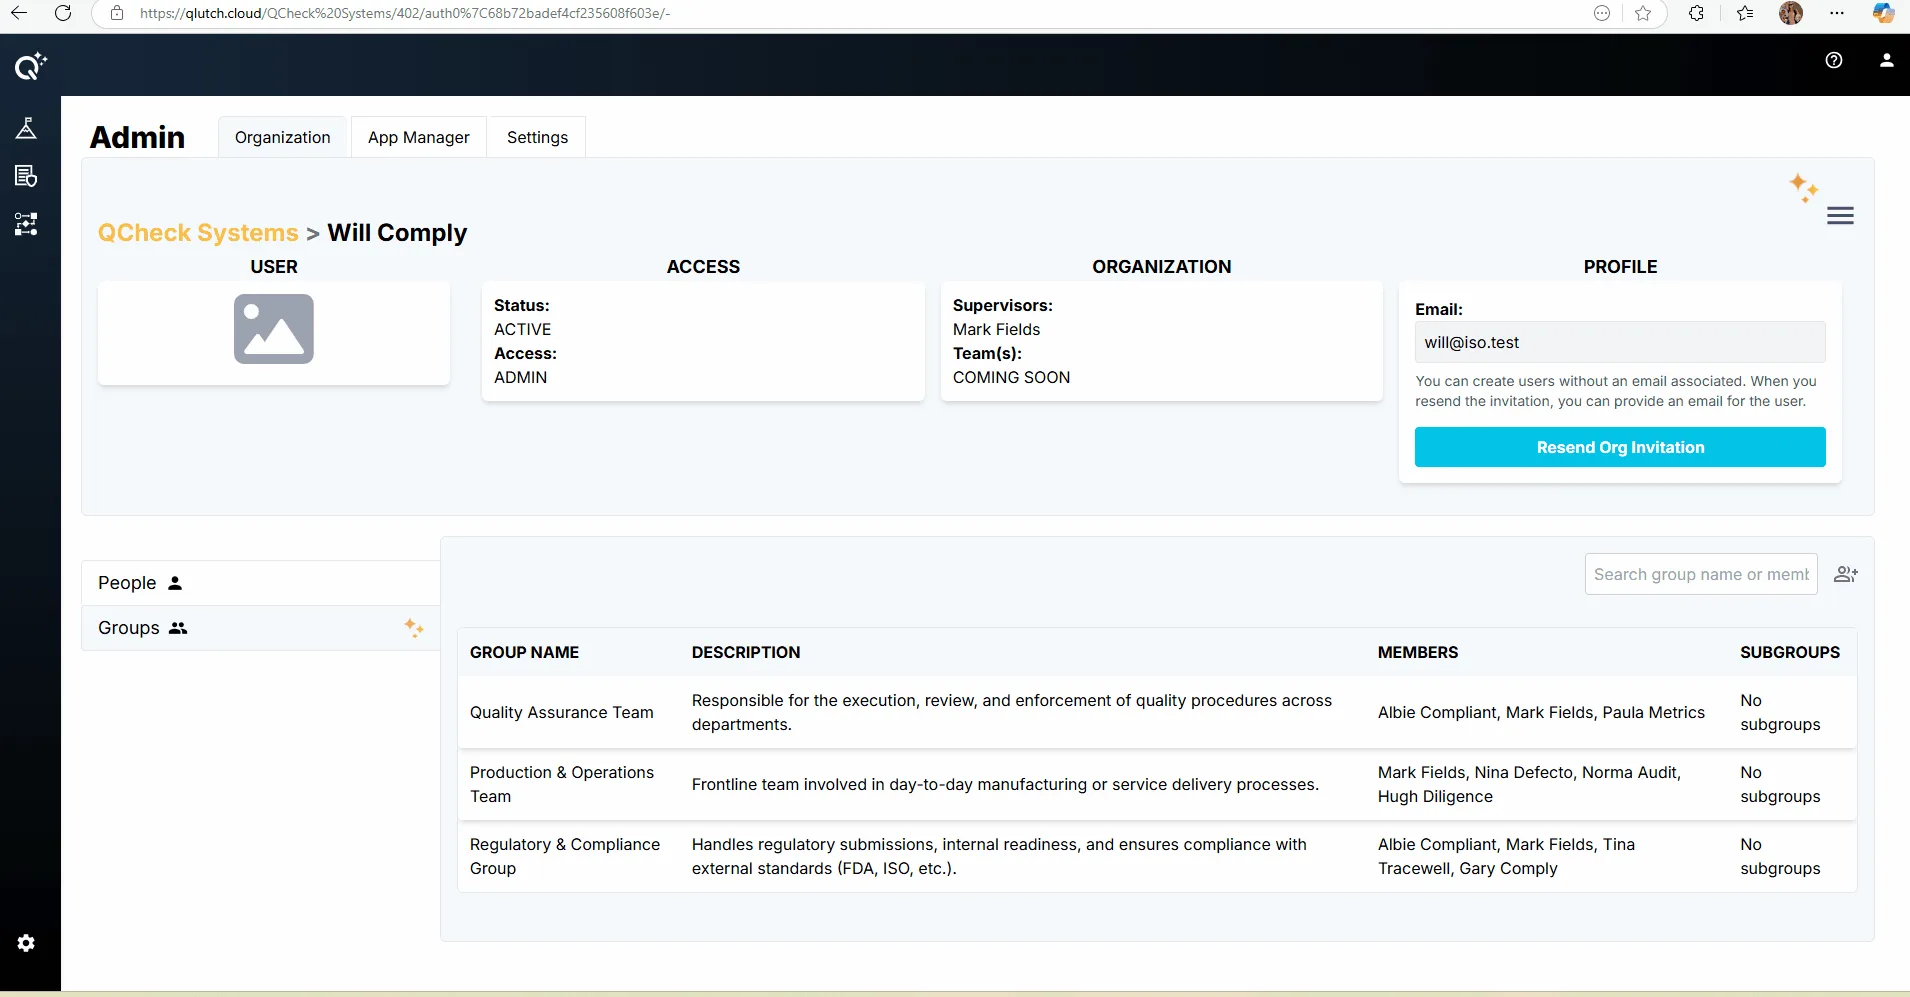
1. Click the Add Groups icon in the top right corner of the Groups tab:
Note: You will need to click the Groups list item in the Admin module for the Groups window to appear.
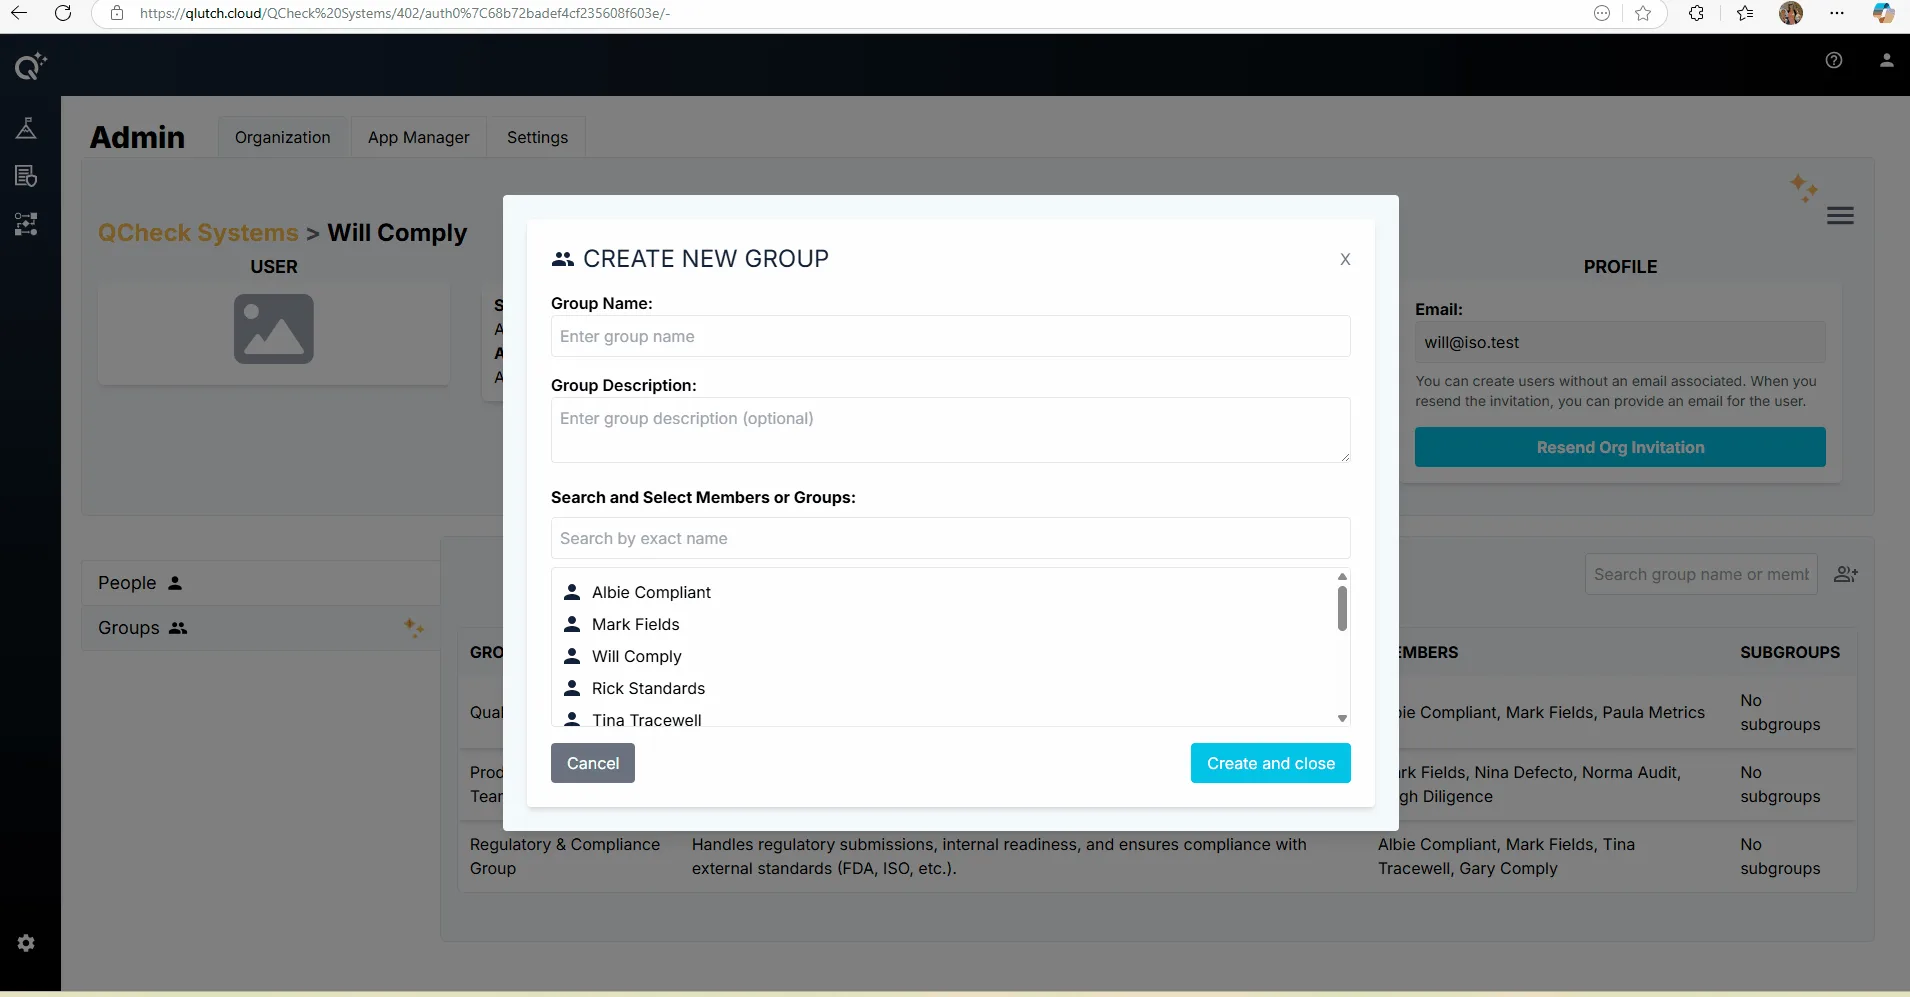
2. Fill in Group Name, Group Description (if applicable), then Search and Select Members. Once all necessary information is included, click the blue Create and Close icon in bottom right of window.
The Group Description section is optional when creating a Group. Members are also able to be added/deleted at a later time.