Step-by-step instructions on how to create a FormFlow template in the FormFlows app. Learn how to configure steps, define workflow logic, and customize settings for optimized process management.
Guide date: 2025-09-30
FormFlows allow you to build structured workflows that collect, route, and process critical business information. Whether you’re documenting supplier qualifications, internal audits, or training assessments, FormFlows help standardize and automate these efforts across your team.
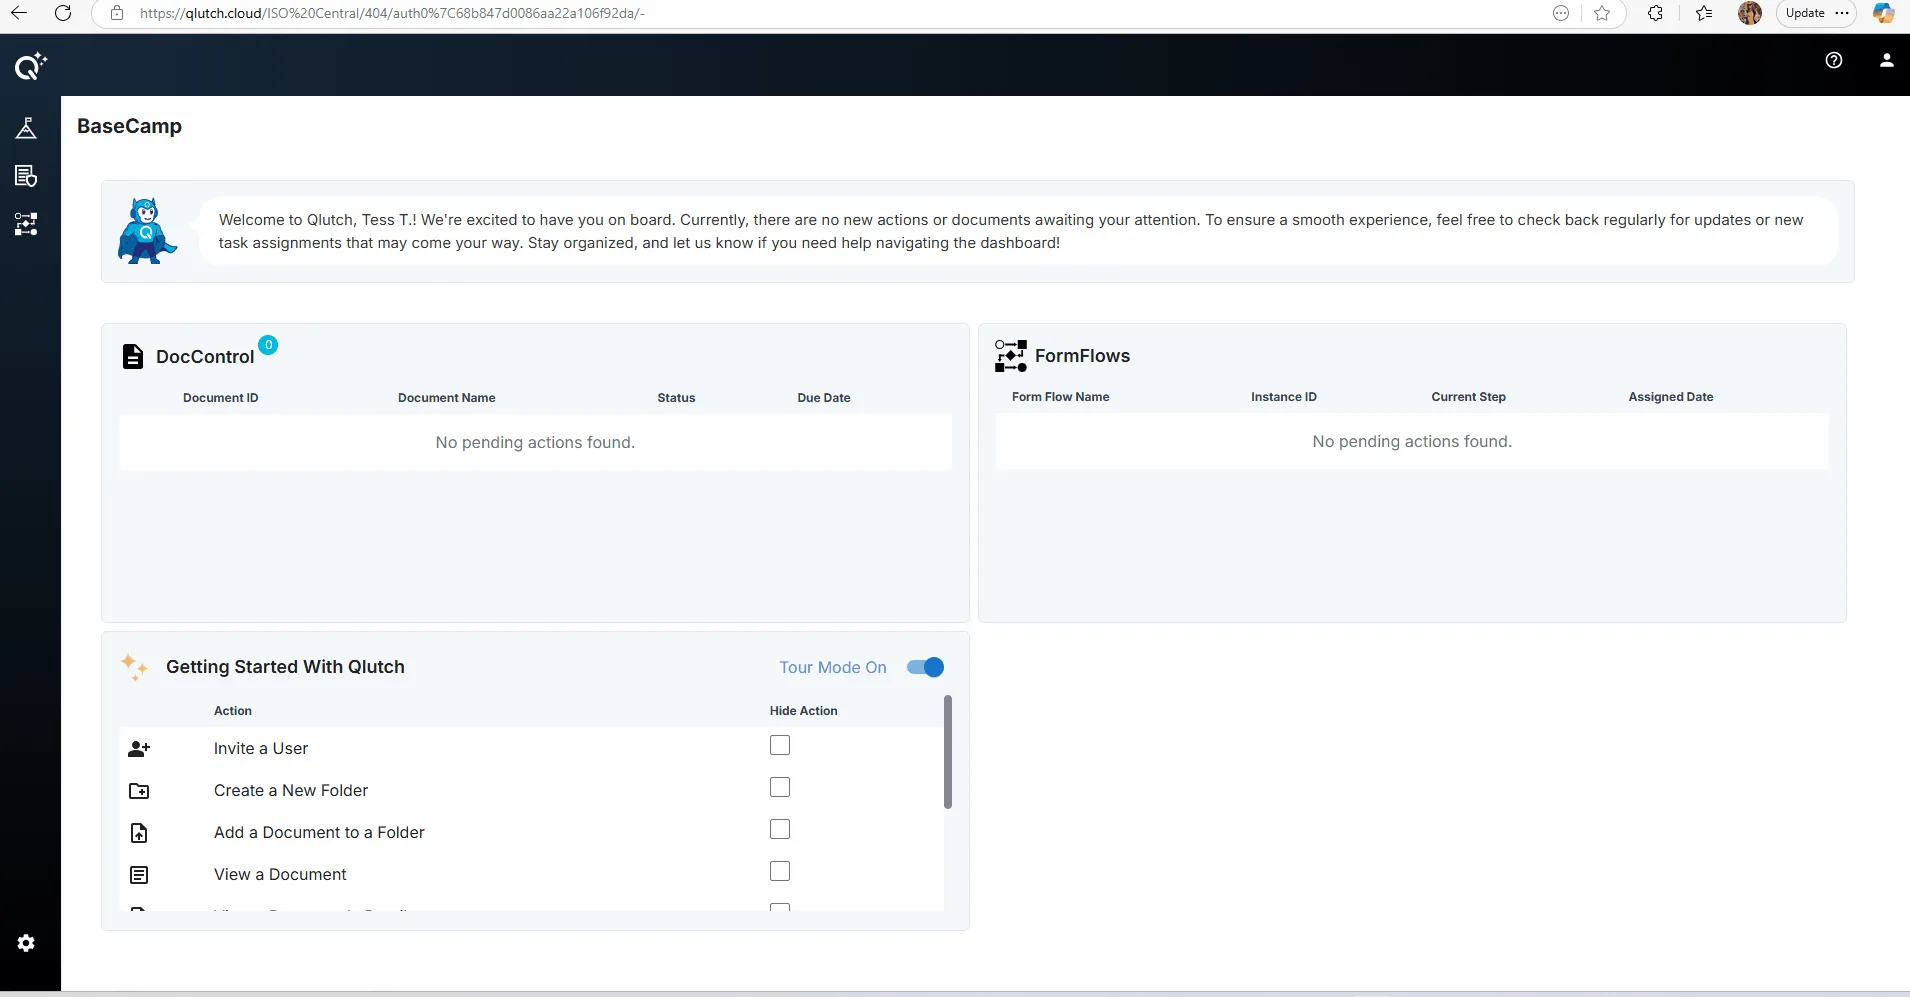
Step 1: Navigate to the FormFlows App
Click the FormFlows icon from the side panel.
Note: Each user must have an active license to access the FormFlows App. Users without a license will not see the FormFlows icon or be able to enter the app.
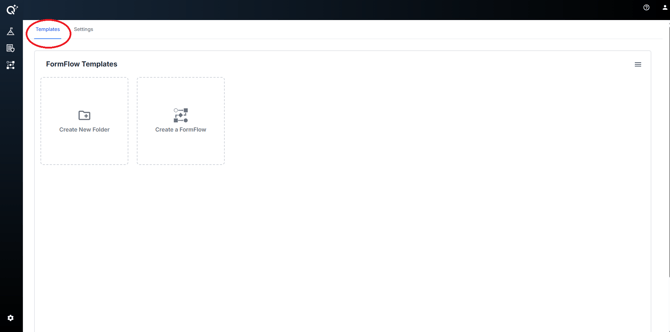
Ensure you're on the "Templates" tab.
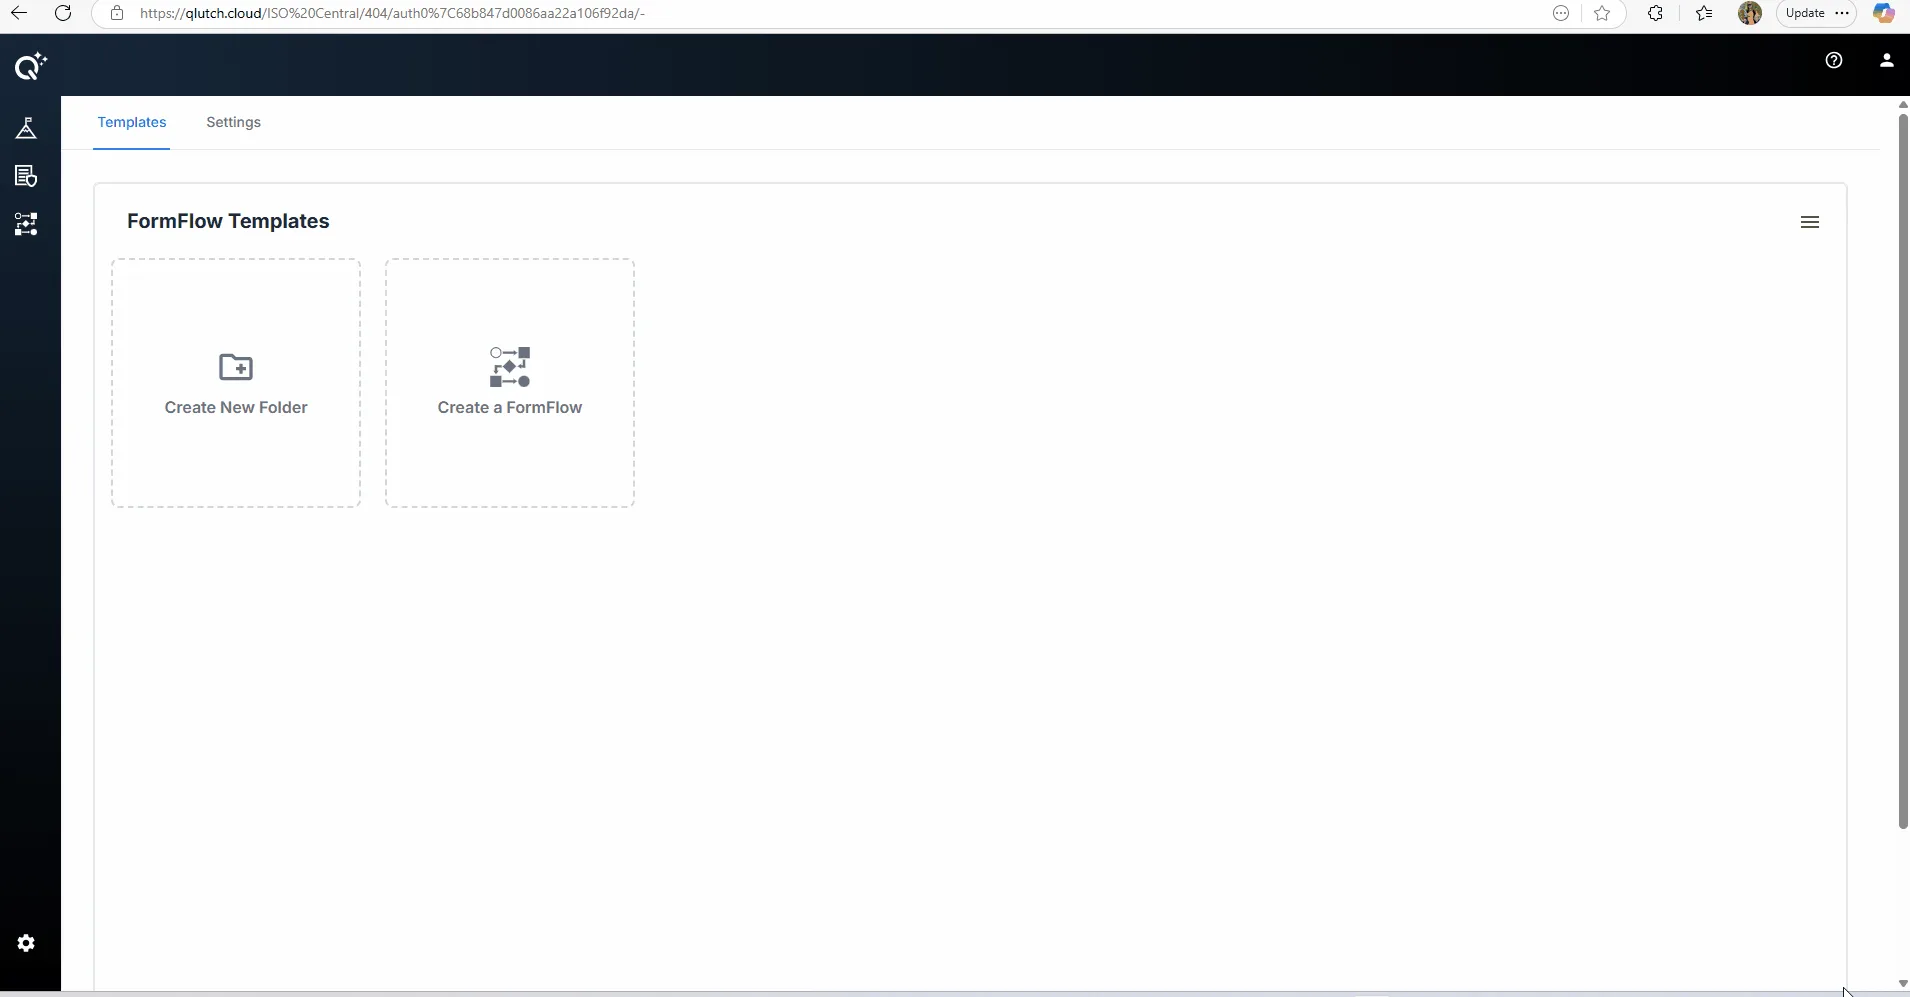
Step 2: Click “Create a FormFlow”
Click the "Create a FormFlow" card.
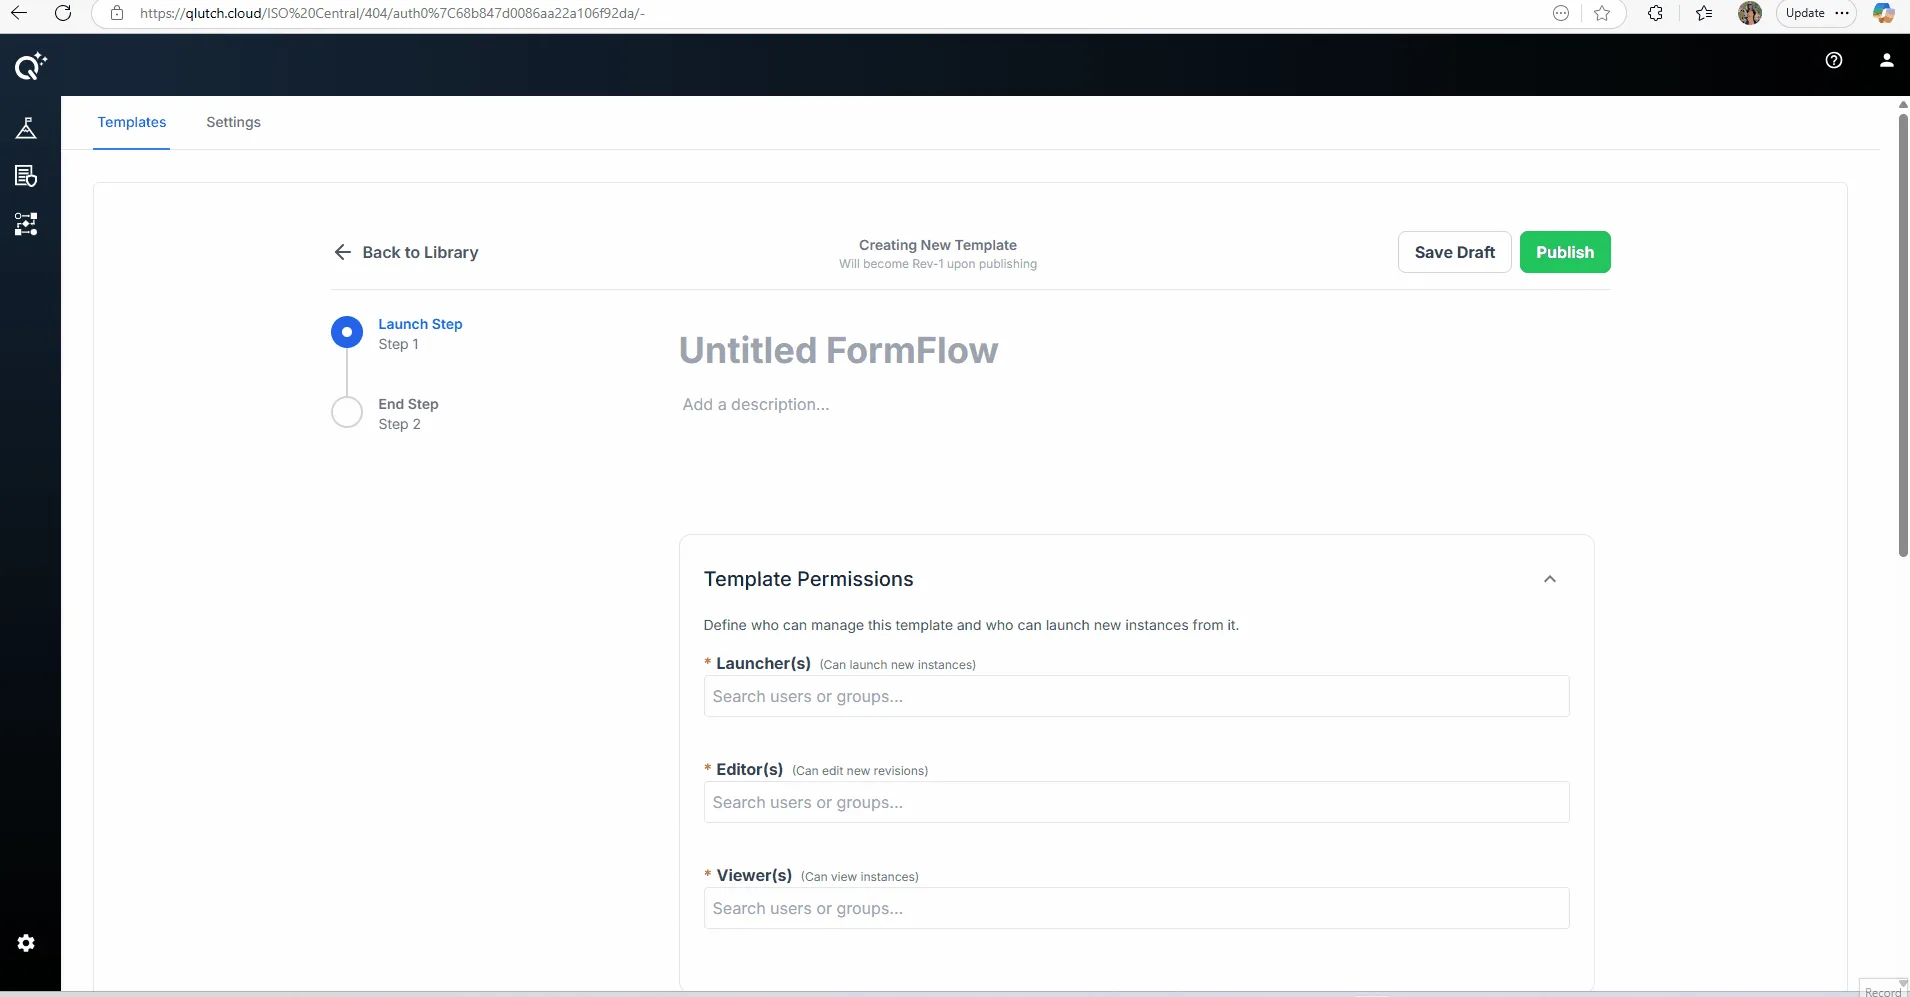
The FormFlow editor will launch in a new view.
Step 3: Name Your FormFlow
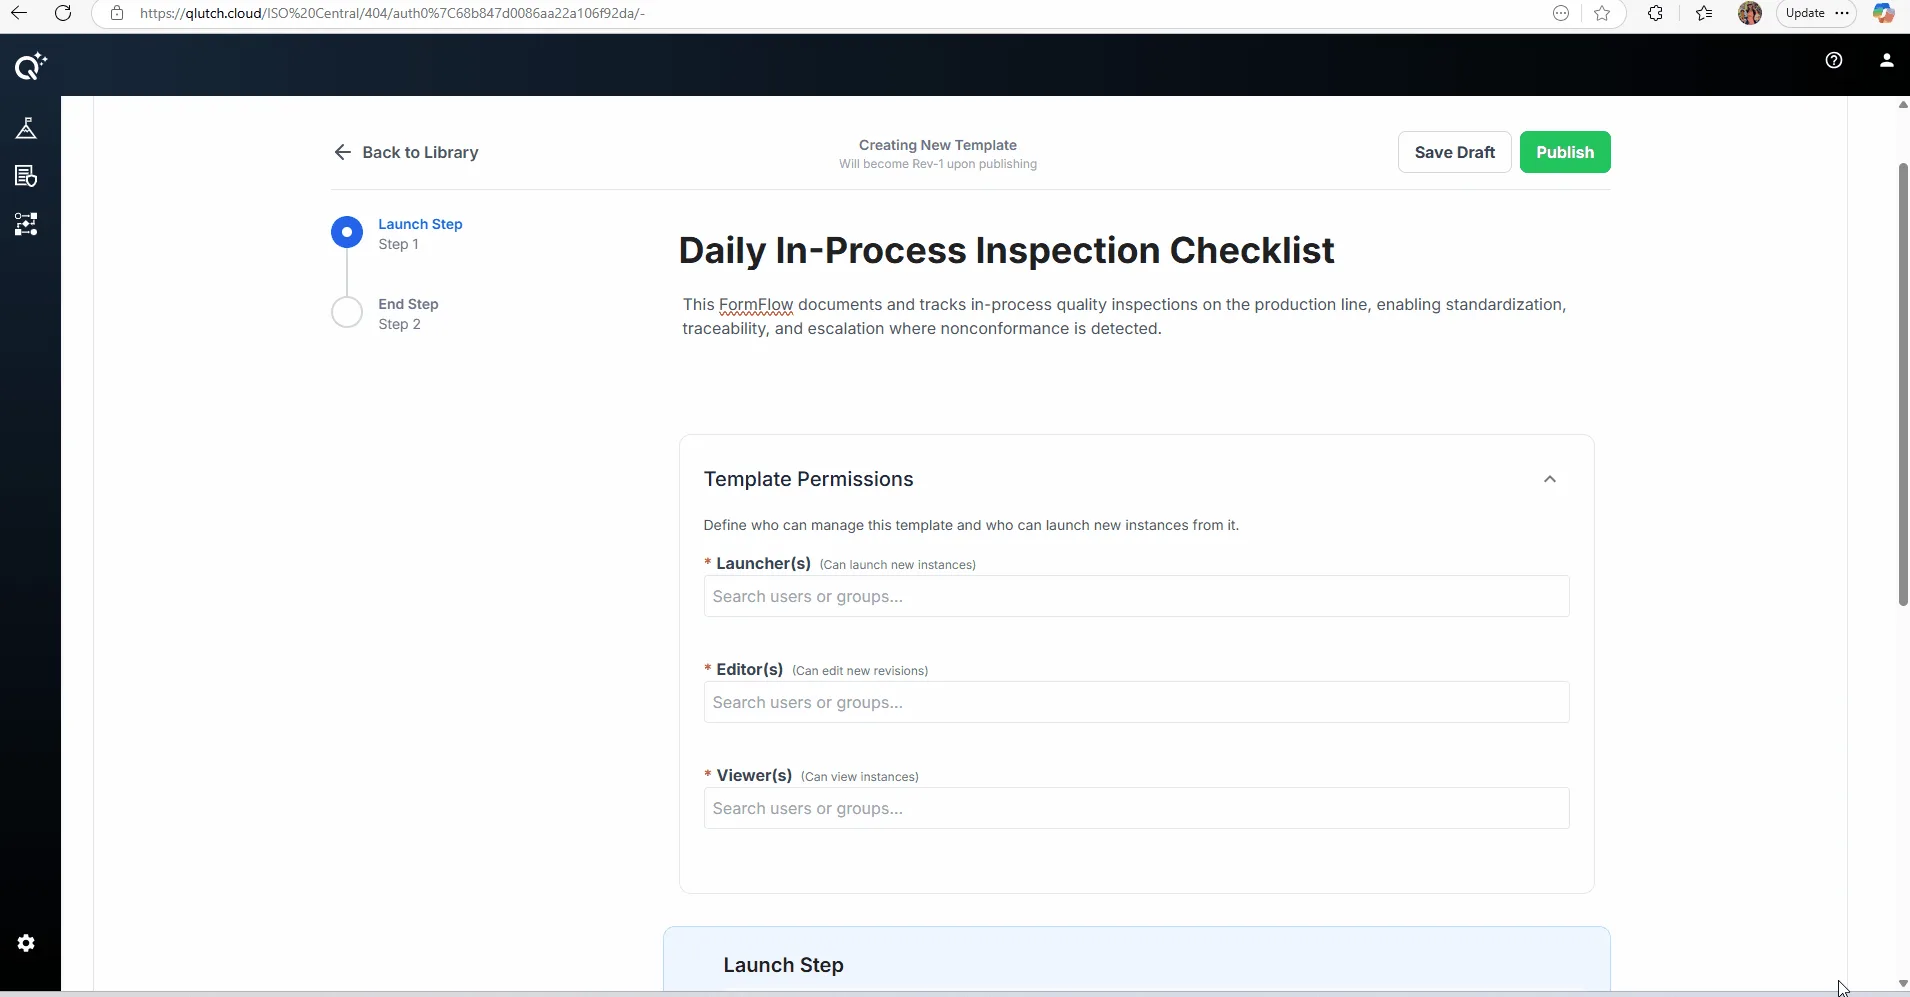
Enter a descriptive title and summary to clarify the purpose of the FormFlow.
Step 4: Assign Template Permissions
Before adding steps, assign permission levels to control how users interact with this FormFlow:
Launchers = can launch new instances of the FormFlow
Editors = can edit new revisions of the FormFlow
Viewers = can view instances of the FormFlow
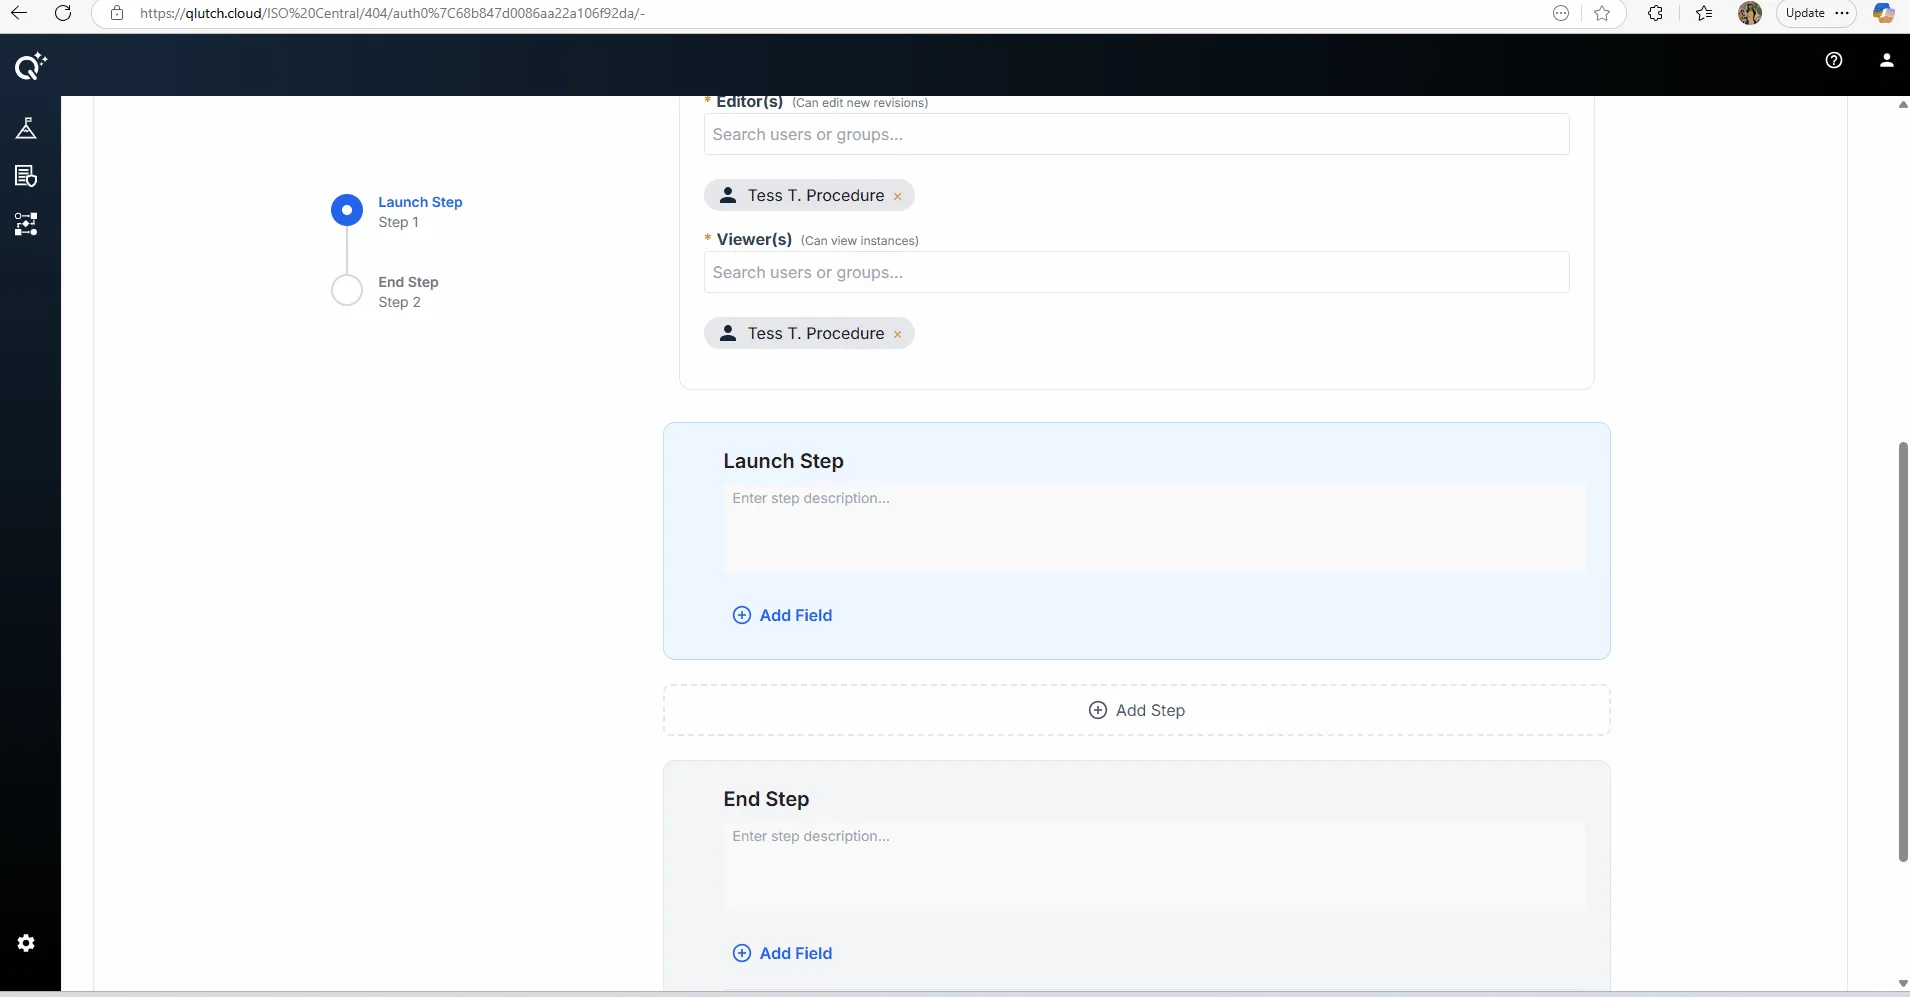
Step 5: Add Your Steps & Configure Launch Step
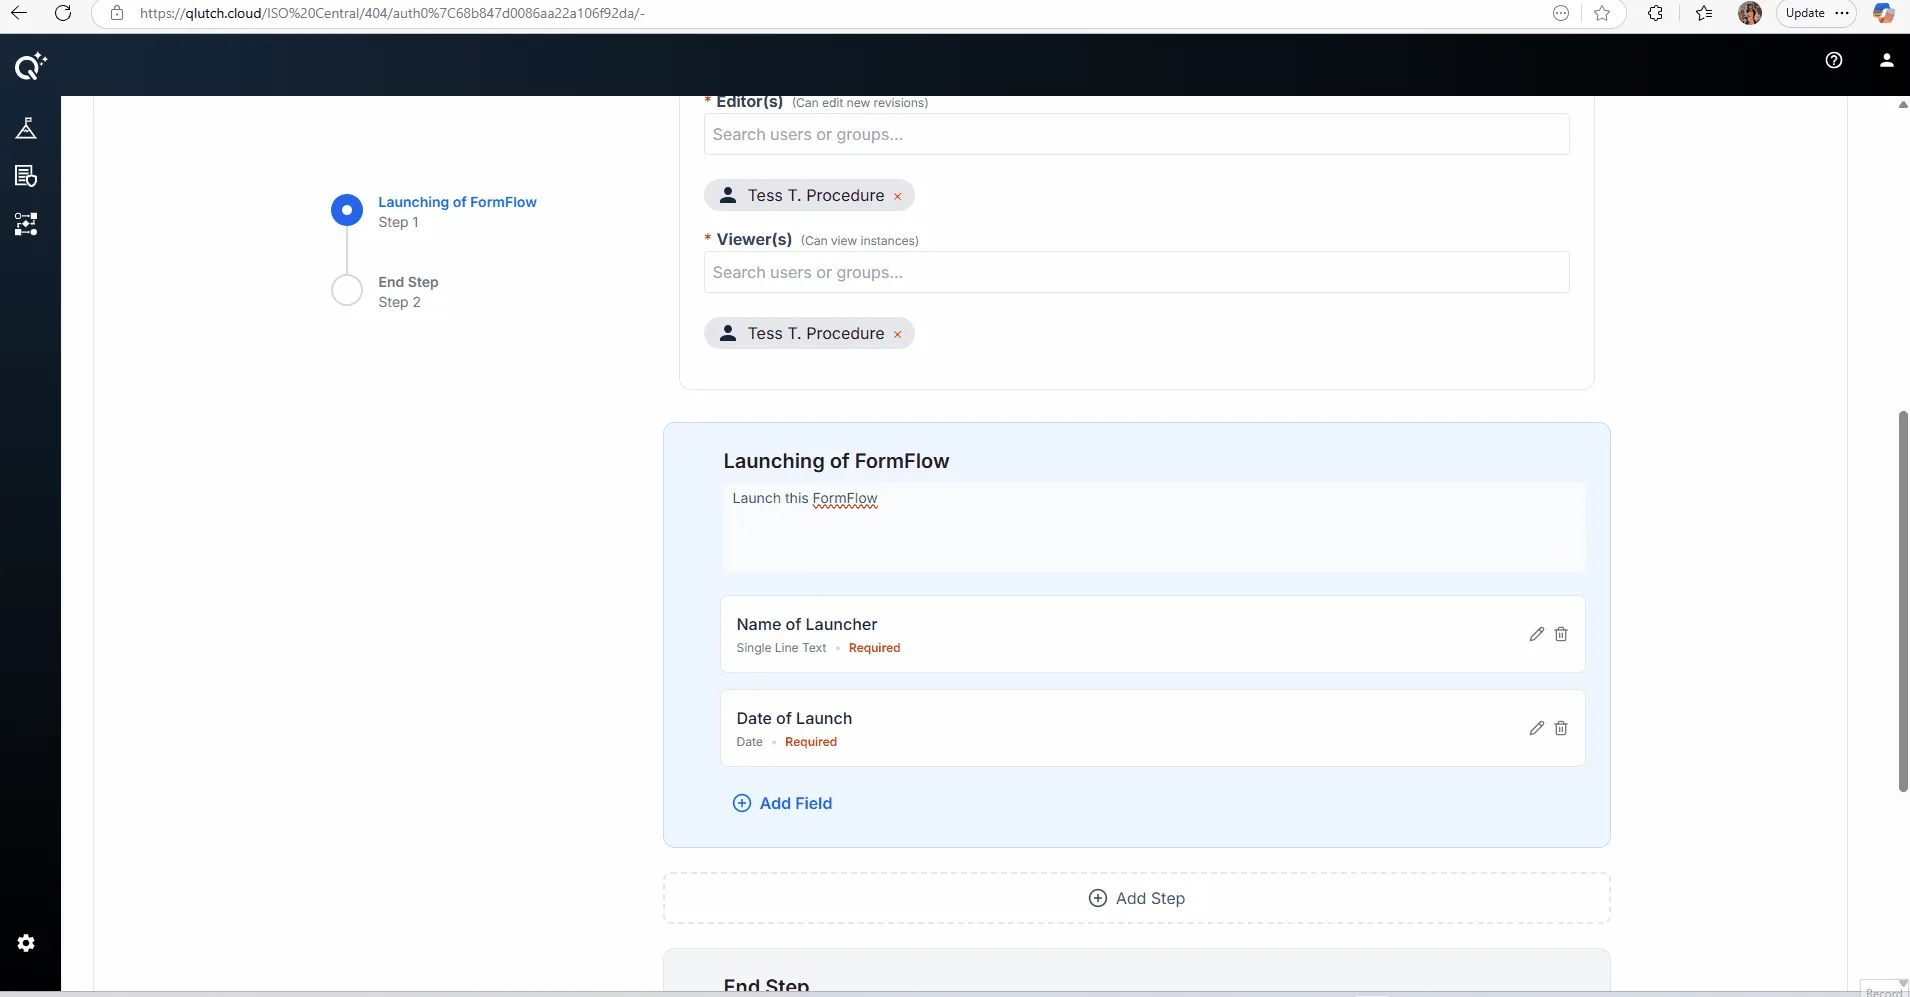
Enter info for Launch Step
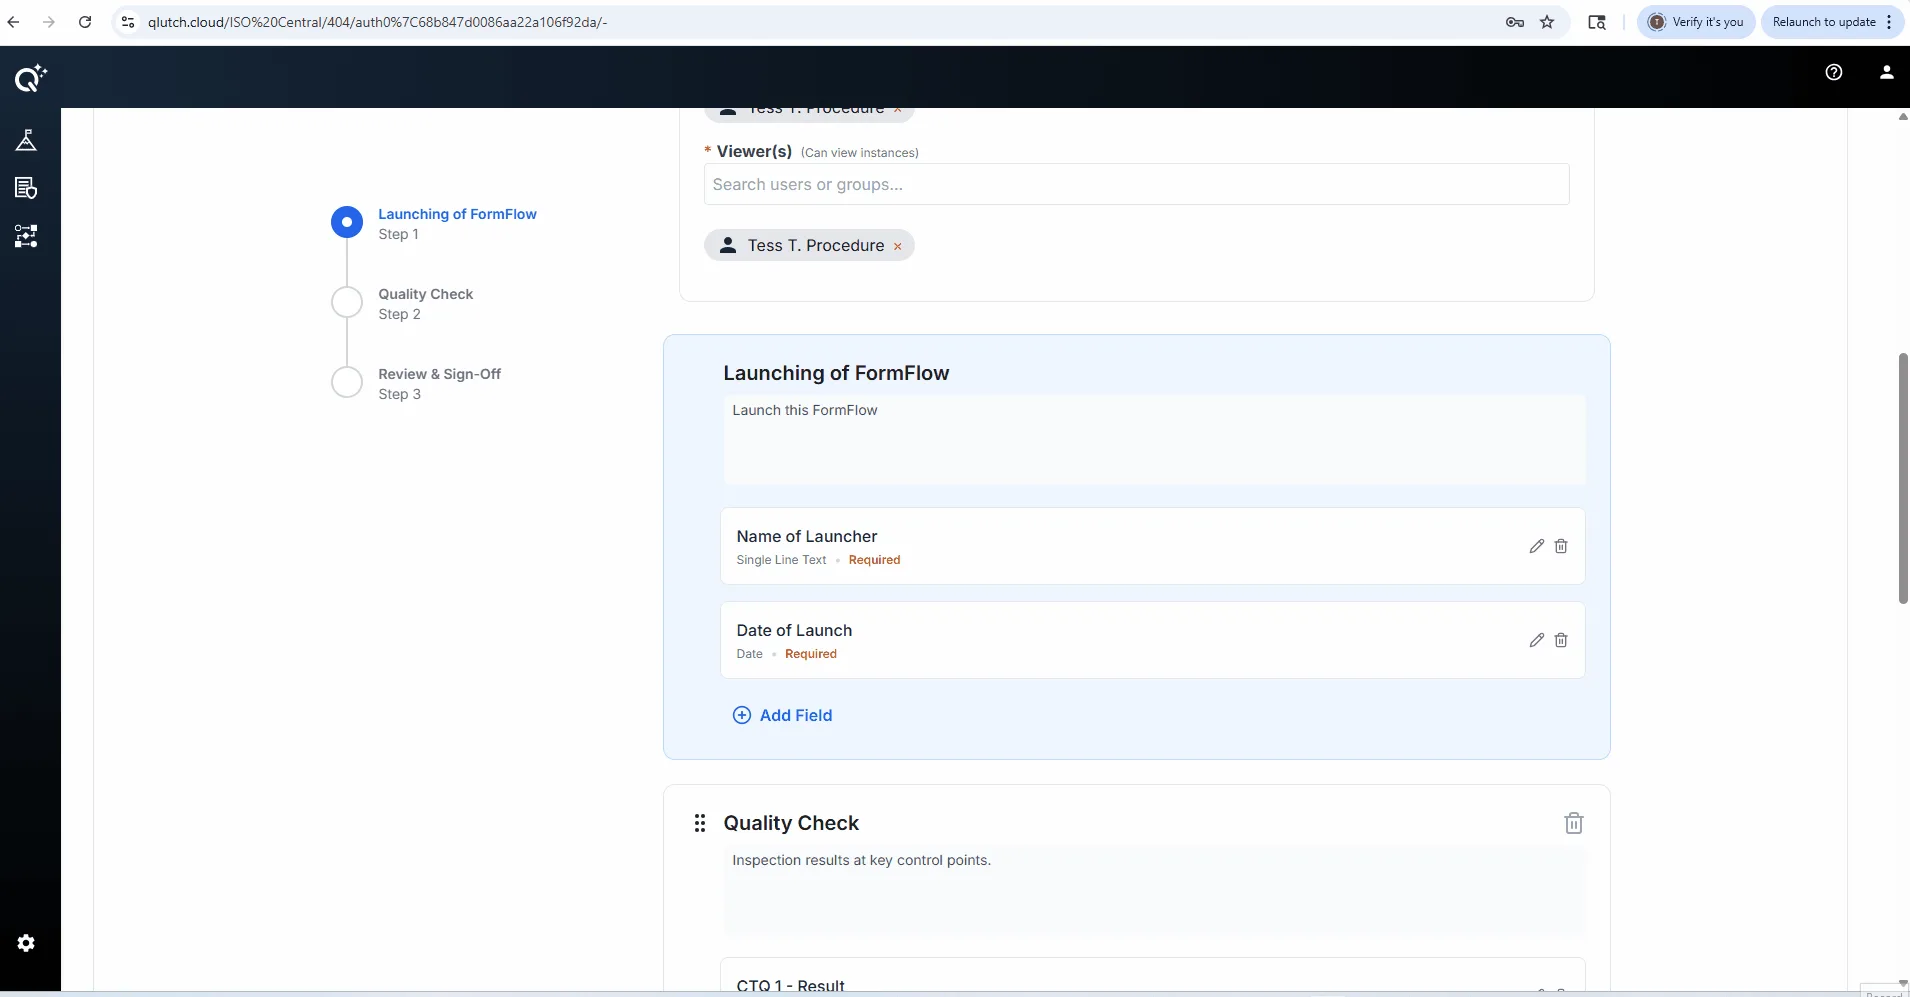
Give it a name, description, and add any required fields.
Instance Display Name
To help distinguish instances after launch, you can now mark one field from your Launch Step as the Display Name.
During configuration, a checkbox will appear: “Use as Instance Display Name”
Only one field may be designated at a time
If you later select a different field, you’ll be prompted with a confirmation modal:
“The display name will be overridden. Do you want to continue?” Options: Continue or Cancel
Once selected, the chosen field’s value will appear as that instance’s Display Name in both the FormFlows Instances list and in BaseCamp.
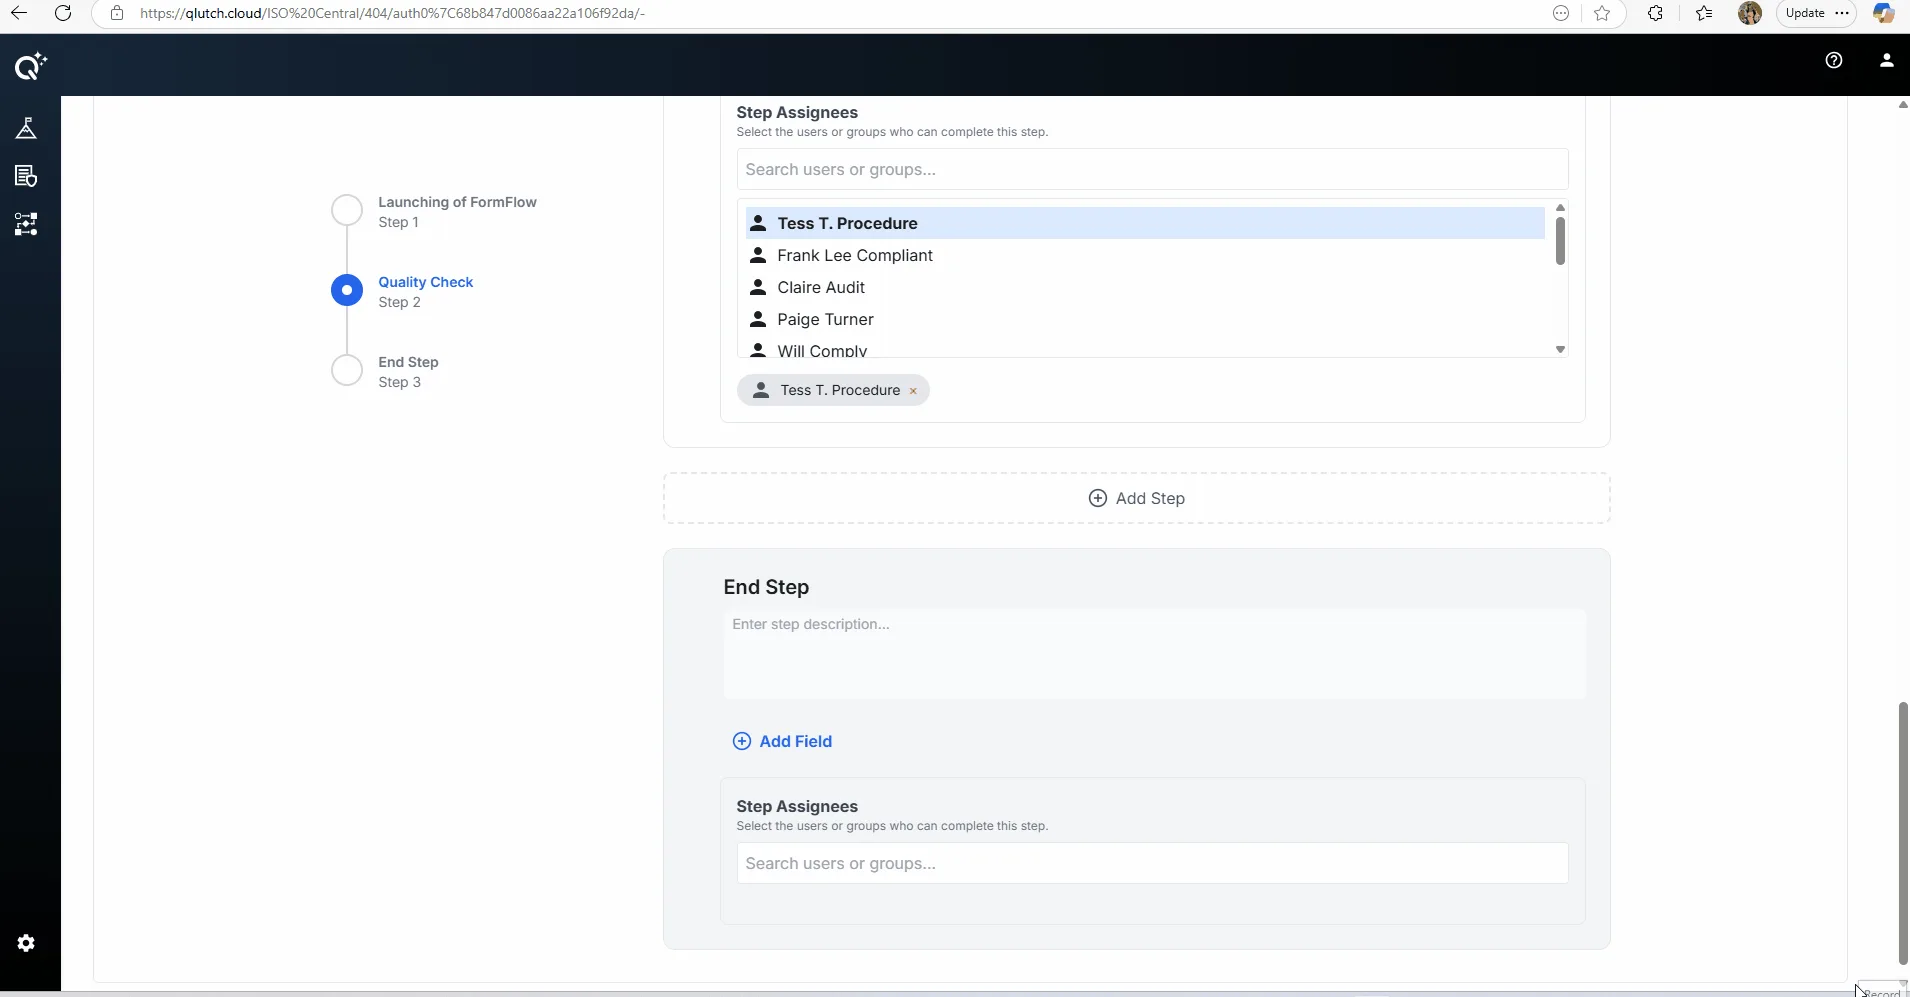
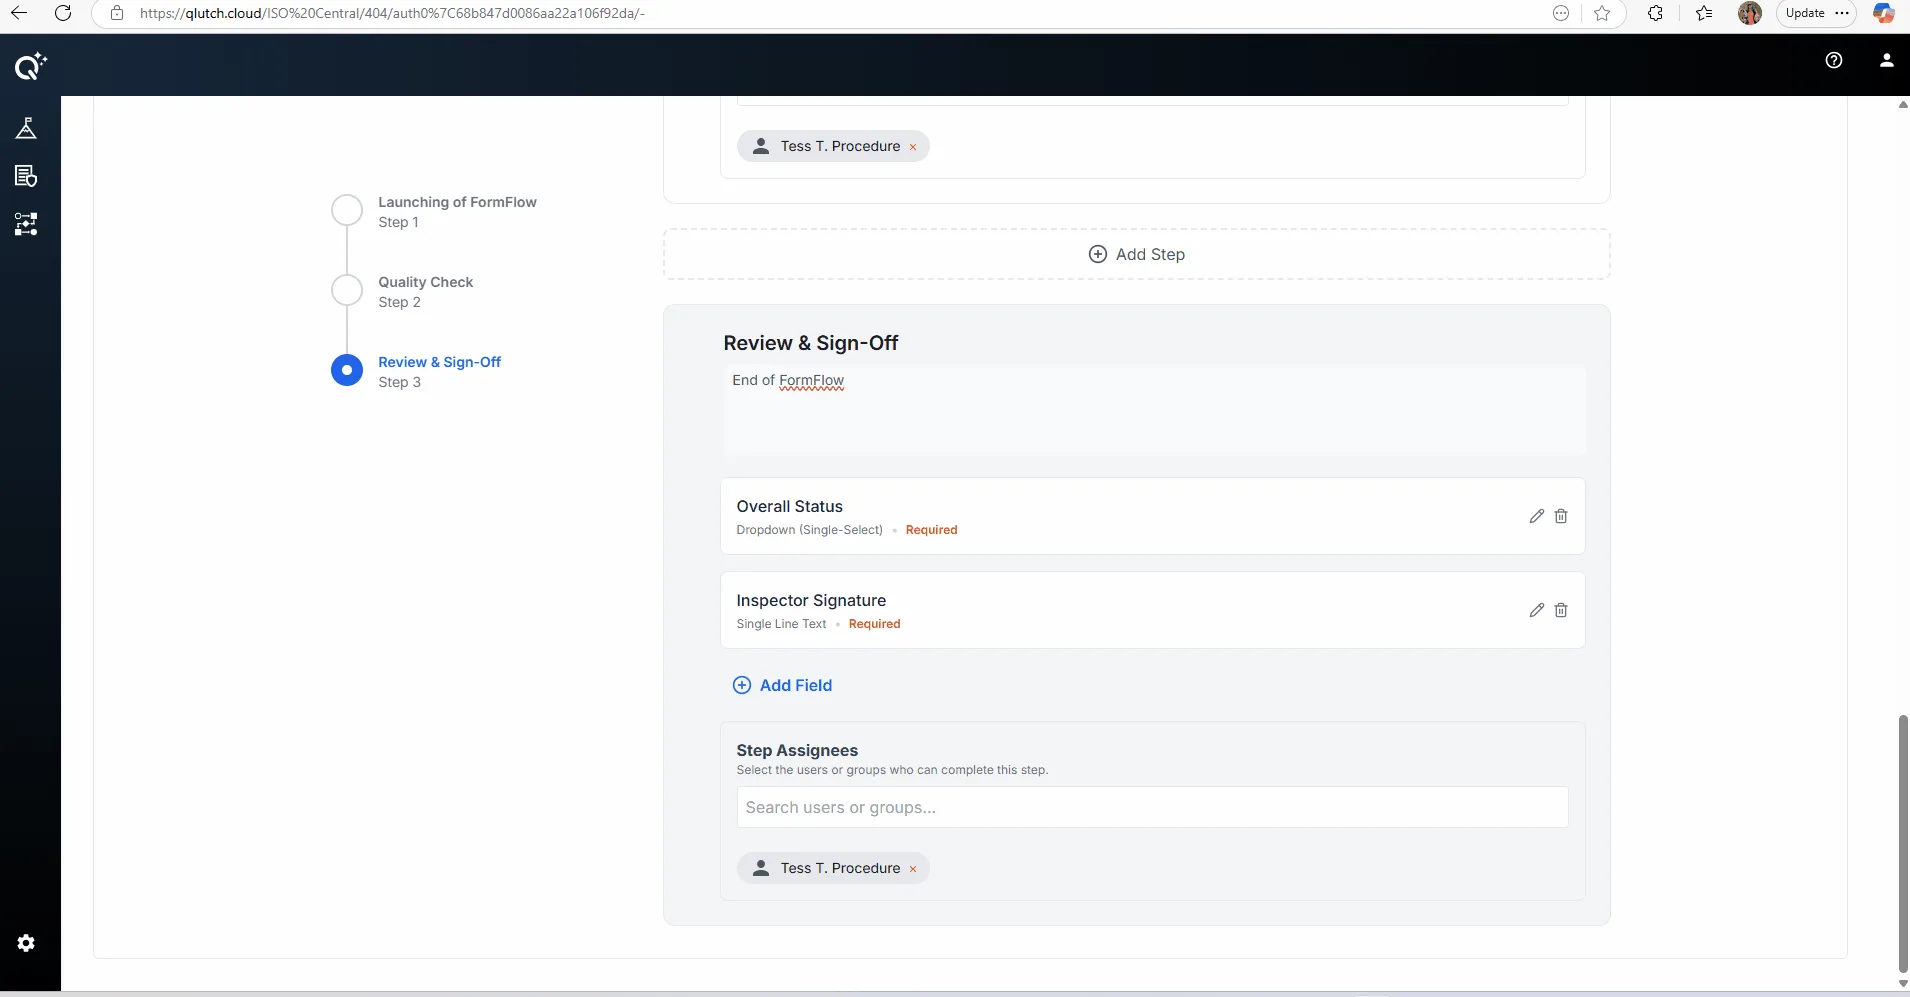
Click "+ Add Step" to continue adding steps to reflect your workflow
Give each step a name, description, add any required fields, and assign any responsible user or group as the step assignee(s).
Step 6: Save Your Progress
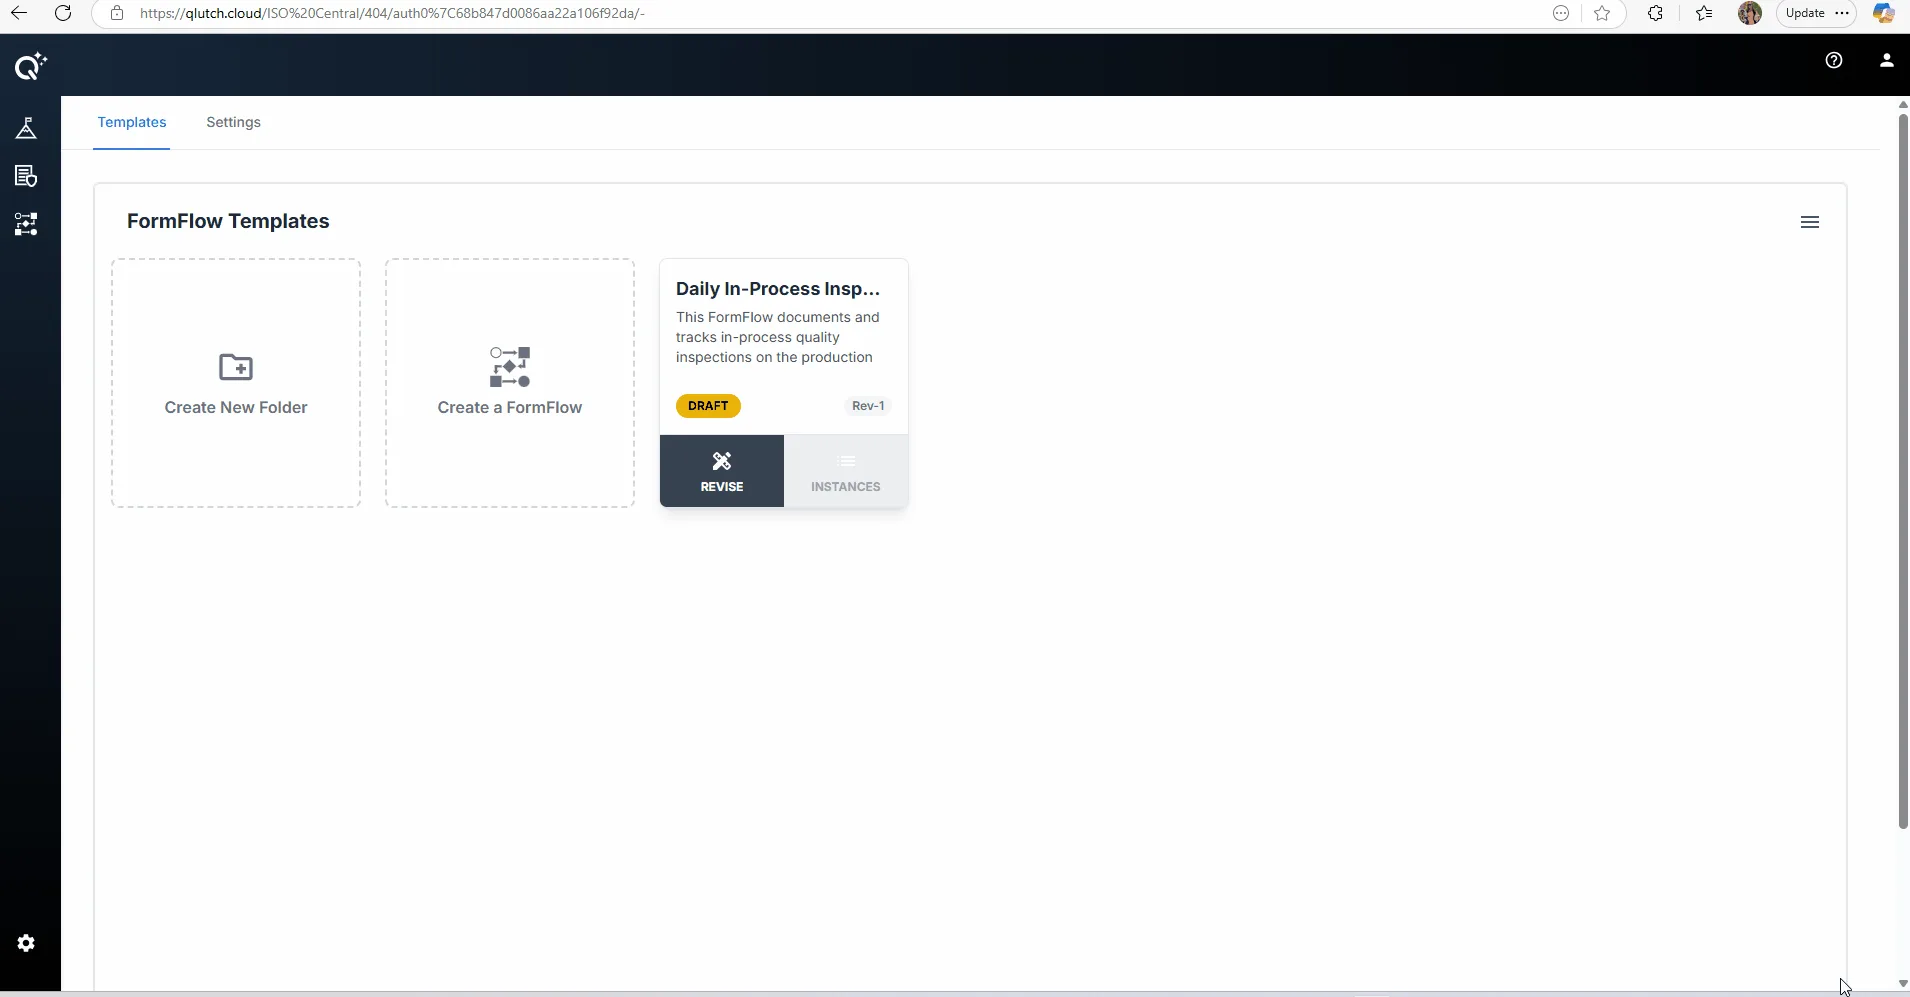
Use the "Save Draft" button located in the top right corner of the page as you build, to preserve changes along the way.
Step 7: Finalize and Publish
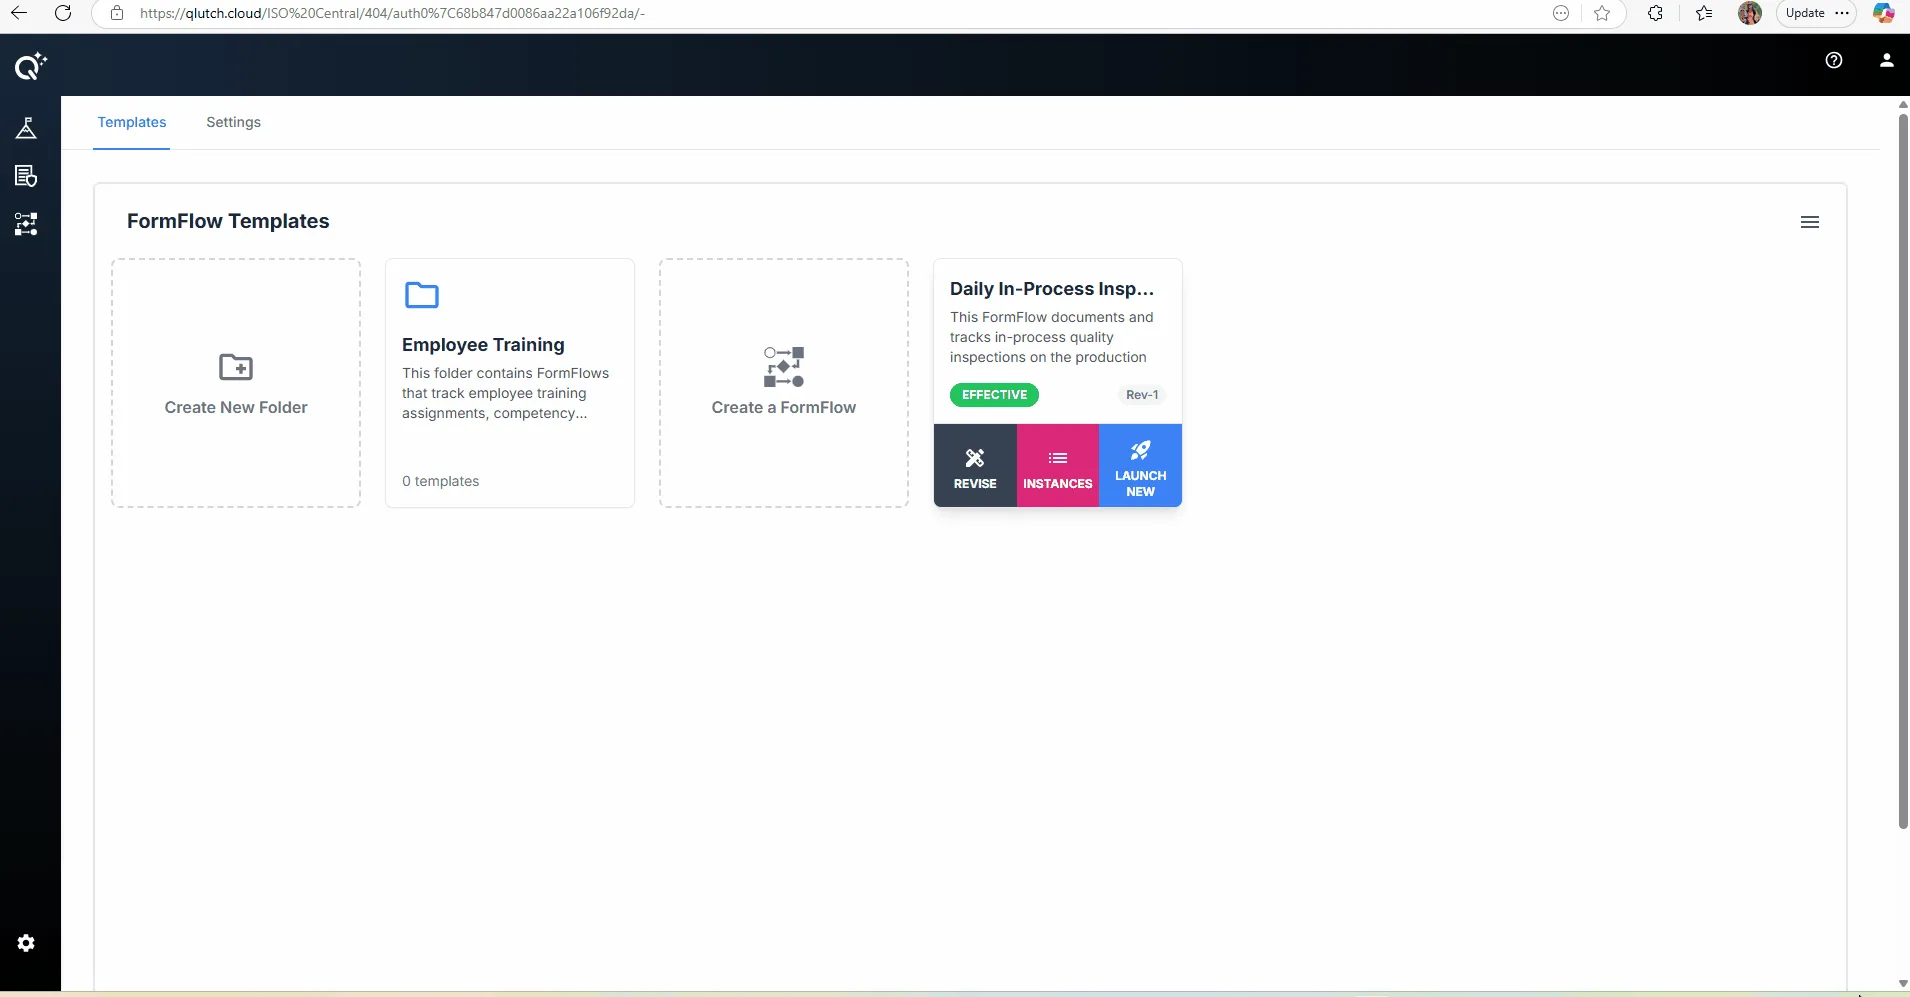
Once finalized, click the "Publish" button located in the top right corner of the page.
The template is now active and ready to be launched by assigned users.
Additional Way to Create a FormFlow Template:
1. Click the Hamburger Menu icon in top right corner
2. Select "Create FormFlow Template" from dropdown menu